IRAN ART EXHIBITION: WITH JUST LITTLE CREATIVITY, MAKE A PRETTY PUNCH NEEDLE EMBROIDERY
Punch needle embroidery (also known as needle punching, needle punch work, punch needle work, punch work, or igolochky) is a technique involving the punching and looping of a thread or ribbon (c. 2 mm in width) in a particular design through a ground cloth.
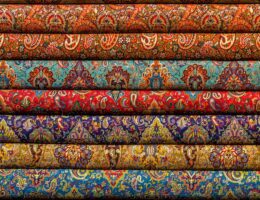
To produce this work, a piece of loosely woven cloth, with a design drawn on the reverse, is placed in a tensioning frame of some kind (such as an embroidery hoop). With the help of a punch needle, a series of loops is made on the obverse side of the cloth, using the fingers to hold the loops initially in place. When the design is finished, the cloth is removed from the frame and turned over. The series of loops (the pile) gives the design a carpet-like appearance. Sometimes the loops are left whole, on other occasions they are cut.
The origins of punch needle embroidery are not clear. Some people trace its origins to ancient Egypt, while others cite medieval Europe (especially Britain, Germany or Russia) as its place of origin. In the USA, for example, the term ‘Russian punch needle work’ is sometimes used to describe a particular type of punch needle embroidery that uses a very fine thread, for instance one strand taken from a six-stranded DMC yarn (see for example Harer 1972, p. 253).
Punch needle embroidery is a form of embroidery that’s also related to rug hooking. This technique goes back hundreds or maybe even thousands of years, but it has remained popular and takes on looks from primitive to modern, and there are so many patterns and kits to choose from. Instead of stitching through the fabric, punch needle pushes thread or yarn into the fabric, while keeping the needle on the surface.
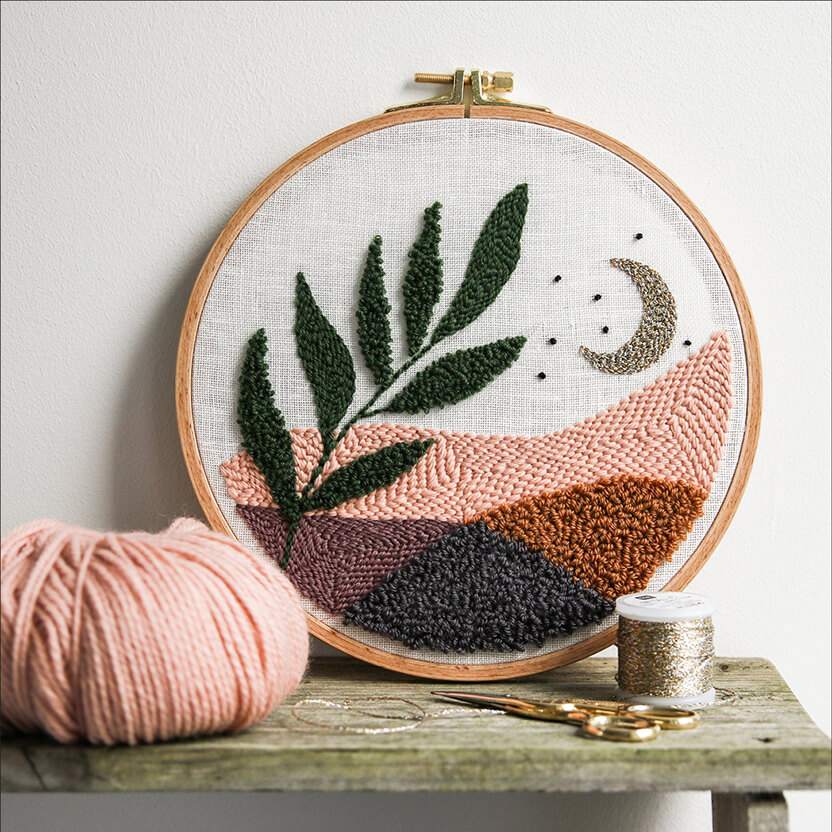
The result of punch needle embroidering is a highly textured design made of loops that shows off its connection to rug making. Like any craft, punch needle takes some practice to get the best results. But after finding the right movements and rhythm, it goes quickly so you can fill a large area in a jiffy!
Supplies
Punch needle embroidery uses many of the same tools as surface embroidery, but you also need some specialized supplies. You may find some of these at your local craft store, but there are lots of online sellers who carry exactly what you need in one place. If you want to avoid the guesswork, punch needle kits provide you with the basics in one easy purchase.
Punch Needle
A punch needle tool has a metal tip with a hole through it, much like a regular needle. But this needle has a channel through which the thread or yarn runs. Punch needle tools also have a handle that makes it easy to grip as you work.
These tools come in different sizes to accommodate various thicknesses, from embroidery floss to bulky yarn. For finer stitching, the tools look like pens, while the more common are larger like the Oxford Punch Needle Tool.
Fabric
Monk’s cloth is the most common fabric for punch needle. This evenweave fabric comes in different varieties, and although some are easier to work with, any type will work. Linen and burlap also work, but the size of the fabric weave should match up with the needle and thread size. Use finer weave for fine threads and coarser weave for thicker threads.
IRAN ART EXHIBITION: Many of these fabrics fray as you work, so it helps to add an edge finish before starting your project.
Thread
Depending on the size of stitching you want to create, as well as the punch needle tool you have, you can use a variety of stitching material. Embroidery floss works in very fine needles and wool tapestry yarn or bulky yarn works in larger needles.
Hoop
Standard embroidery hoops work for punch needle as long as they hold the fabric stretched lightly. If you plan on doing a lot of punch needle, you should invest in a frame with carpet tacks or gripper strips, which hold the fabric tighter. Another option is to use a staple gun to attach the fabric stretched onto a wooden frame, which then becomes the frame for your project.
Other Materials
You’ll also need scissors and a way to transfer or mark a pattern on the fabric.
Patterns
When choosing a pattern for punch needle, not all embroidery patterns work as well as others. It’s helpful to look for patterns designed for punch needle, but you can use some standard patterns. Just remember that thicker yarns make it harder to keep any kind of detail in the design.
Most fabrics that are suitable for punch needle are too thick to trace a pattern. Iron transfer pens work well, but you can use your favorite transfer method. You can also freehand your design with a fine-tip permanent marker.
Punch needle patterns go on the back of the fabric, so the design will always be in reverse on the front. Be sure to take that into account when marking the pattern.
Stretch the Fabric
Place your fabric with the pattern in a hoop or stretched on a frame. It’s important to make the fabric very tight like a drum. This makes it much easier to punch needle consistently. If the fabric starts to loosen as you work, tighten it again.
Thread the Punch Needle
IRAN ART EXHIBITION: Follow the manufacturer’s instructions for threading your punch needle tool. Most tools have you run the thread or yarn from the back, through the tool, and then through the eye or tip of the needle. The tool has a slit through the side of the handle and the metal tip so you can slide the yarn in easily. Once it’s pulled tight, the working yarn is hidden inside.
How to Punch Needle
Pull a 2-inch tail of yarn through the needle. As you work, some needles require you to keep the needle facing a specific direction.
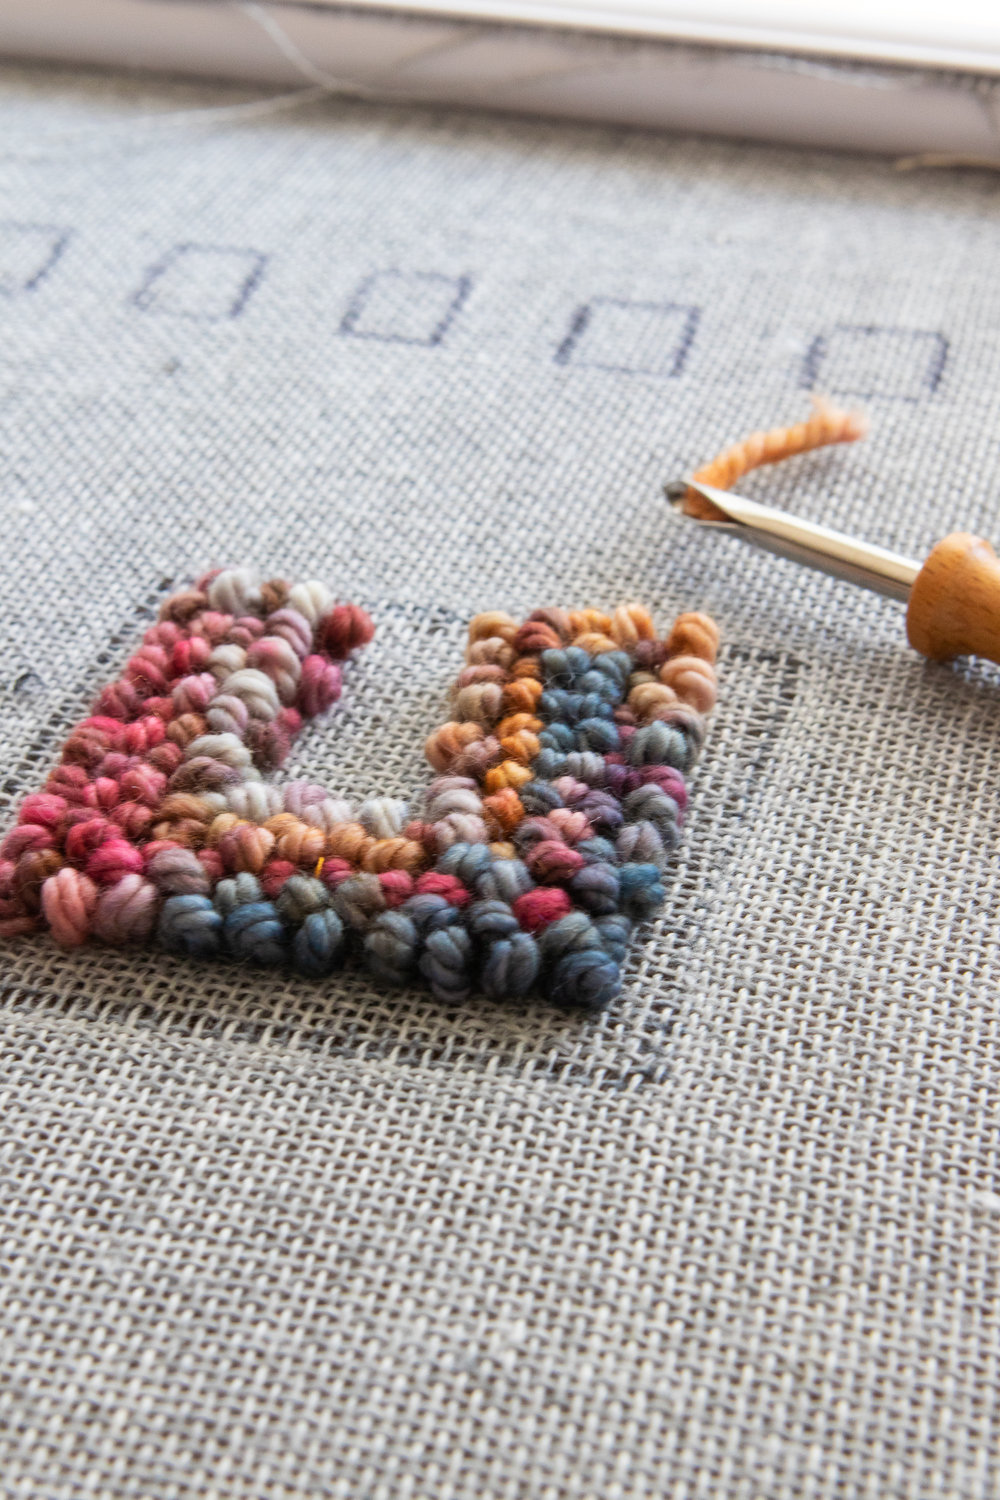
Push the needle through the fabric on the line of the pattern. Always push the needle all the way down so the stitches are consistent. Pull the needle back up, but only until the tip of the needle reaches the fabric surface.
Keep the needle close to the fabric as you move it along the line to where you’ll insert the needle for the next stitch. Push the needle through again, and repeat the process.
The side where you’re working is considered the wrong side of the work. When you flip it over you’ll see the loops on the right side. At first, they look sparse, but as you add more and fill in the area, stagger the stitches and it will even out.
Some patterns keep the working side as the right side of the work and others combine the two so you get two different textures.
IRAN ART EXHIBITION: To end a section of punch needle, hold the last stitch with your finger, then pull the needle a few inches away from the work. Trim the thread or yarn about 1/2 inch away from the fabric. You can also trim the extra yarn from where you started.
You don’t need to knot anything or secure the back in any way. Some people like to use adhesives to protect the back so the stitches don’t pull out. But by leaving it plain it’s easier to repair in the event of a major snag.
After the punch needling is all done, you’ll see that the loops might not leave smooth edges in the design. Use your fingers or a pointed tool (scissors work as long as you’re careful!) to move the loops around so the design looks like you want it to.
When you remove the punch needle from the hoop and the fabric is no longer stretched, the fibers tighten and hold the thread or yarn in place. Now you can do any finishing to your punch needle, like making it into a pillow or hanging it in your home!