IRAN ART EXHIBITION: WHAT IS RIBBON EMBROIDERY ART? AND HOW IS IT DONE?
Ribbon embroidery is a type of embroidery that is self-explanatory. At its most basic level, it is stitching with ribbon. However, this form of embroidery is so much more than that, especially when used to create stunning dimensional pieces. It’s worth the time for stitchers to learn about this form of embroidery and how to work with silk ribbons.
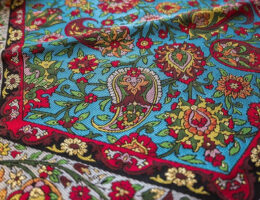
Dating back to the 1700s, silk ribbon embroidery shows up on embellished clothing, home decor items, quilts and more. It has gone through various periods of popularity and continues to be a favorite of many embroiderers today.
One of the things that stands out about ribbon embroidery is the texture it creates. Rather than simple stitches on the surface of the fabric, the bulk of the ribbon results in embroideries that seem to jump off of the material.
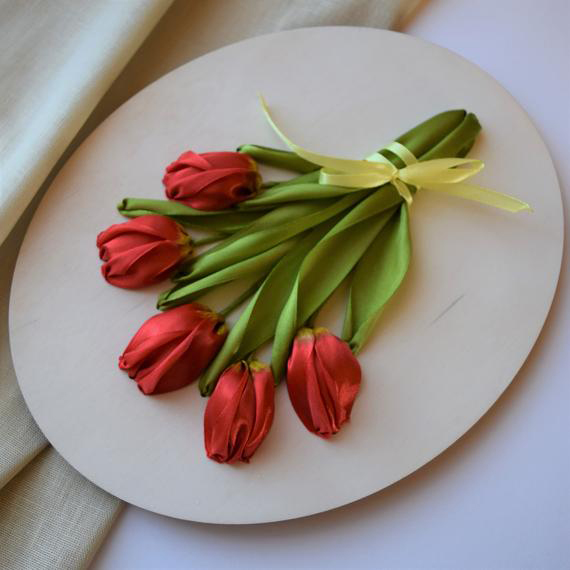
Flowers are a very common design to work with silk ribbon embroidery, most likely because the ribbon allows you to stitch very lifelike florals. Often a single stitch with ribbon will look like a flower bud, and the addition of one or two more stitches gives you a bud with some greenery that reminds you of the real deal.
Creating full, exquisite displays of ribbon embroidery takes some practice, but it’s also possible to start very simply, and just have fun with it.
Ribbons and Supplies for Embroidery
It’s best to work ribbon embroidery with silk ribbons designed specifically for this type of work. It is possible to embroider with synthetic ribbons, but it can be more difficult.
Silk is very thin, which makes it easier to pass through the fabric and sometimes, as needed, itself. It is also washable, which is a good feature when you are making something that you might wear. If you do decide to work with a synthetic ribbon, test it with your fabric first to see how well it works its way through.
You can find ribbons for embroidery at your local needlework shop or online.
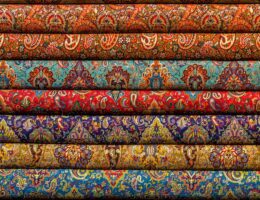
These silk ribbons come in a variety of widths and it’s helpful to have several available to work with. The different sizes make a huge difference when it comes to the look of your stitches, and as expected, the wider the ribbon, the bigger the impact.
Needles
When choosing a needle for your ribbon embroidery, it’s most important to have a sharp point and a large eye. Chenille needles in sizes 18-22 work well.
Fabric
Pretty much any fabric that you can get a needle and the ribbon through will work for this embroidery, however, most stitchers recommend working with natural fibers. If you are working with a synthetic ribbon, you may want to use a fabric with a more open weave.
As you are stitching, if you have trouble pulling the needle through, use a larger needle to make the holes before each stitch or switch to a looser fabric.
Threading a Needle With Ribbon
Threading your needle for silk ribbon embroidery is a little different than with other types of embroidery, and getting it started is important.
First, you should only work with short pieces of ribbon to avoid wear on the ribbon. About 12 inches is a good length, though you can go a little longer.
Thread one end of the ribbon through the eye of the needle, then pierce the end of the ribbon with the needle. Pull the working ribbon down so that the short end draws near to the eye, locking the ribbon in place.
Starting and Stopping
In surface embroidery, there are best practices for how to start and end a thread and the same is true for ribbon embroidery.
Because the back of this type of stitching can get bulky from the stitching itself, it is okay to start with a knot.
If you’d rather avoid that, you can leave a small temporary tail on the back of the fabric, holding it in place as you make the first stitches. After a few stitches are in place, use a single strand of embroidery floss in a color that matches your ribbon and tack the tail to the back of a stitch or two of ribbon. Take care that the stitches don’t show on the front.
IRAN ART EXHIBITION: Likewise, when ending you can finish with a knot and slide the tail of the ribbon under a stitch or two, then trim off the remaining ribbon and needle.
Or, follow a similar method as above, stitching the tail in place.
Basic Stitches Worked With Ribbon
Ribbon stitch is the most common stitch in ribbon embroidery. It’s exclusive to ribbon embroidery, which, given the name, makes sense. This stitch helps form different flowers and other motifs, and while it can take some practice, it’s one to learn.
Apart from ribbon stitch, if you have done any surface embroidery, you most likely already know most of the other stitches that show up in silk ribbon embroidery. And you’ll love seeing how the same stitch can look so different when worked in different sizes of ribbon.
The photo above shows a few samples of basic embroidery with ribbon.
The top row, working from left to right, shows straight stitch and straight stitch with a twist, loop stitch (which is essentially a tiny straight stitch with a loop of ribbon left on the surface), french knot and french knot with a tail (also called pistil stitch).
The bottom row is a stem stitch and a single detached chain stitch.
Things to Watch For
You can see in the examples, and you’ll find it as you start experimenting with ribbon embroidery, that a twist in the ribbon produces different results. This can be both good and bad. Use it to your advantage or watch out to avoid it when necessary.
One other thing to watch out for is jumping from one area to another. It’s always undesirable to have a stretch of thread across the back of your work, but even more so with ribbon, which can become damaged as you go to add more stitches. It’s much better (though more work) to end your ribbon and start again in the new location.
Start Stitching
Now it’s time to pick up your needle and some ribbon, then start stitching! Even your practice work will amaze you as you form gorgeous designs with a few simple stitches.
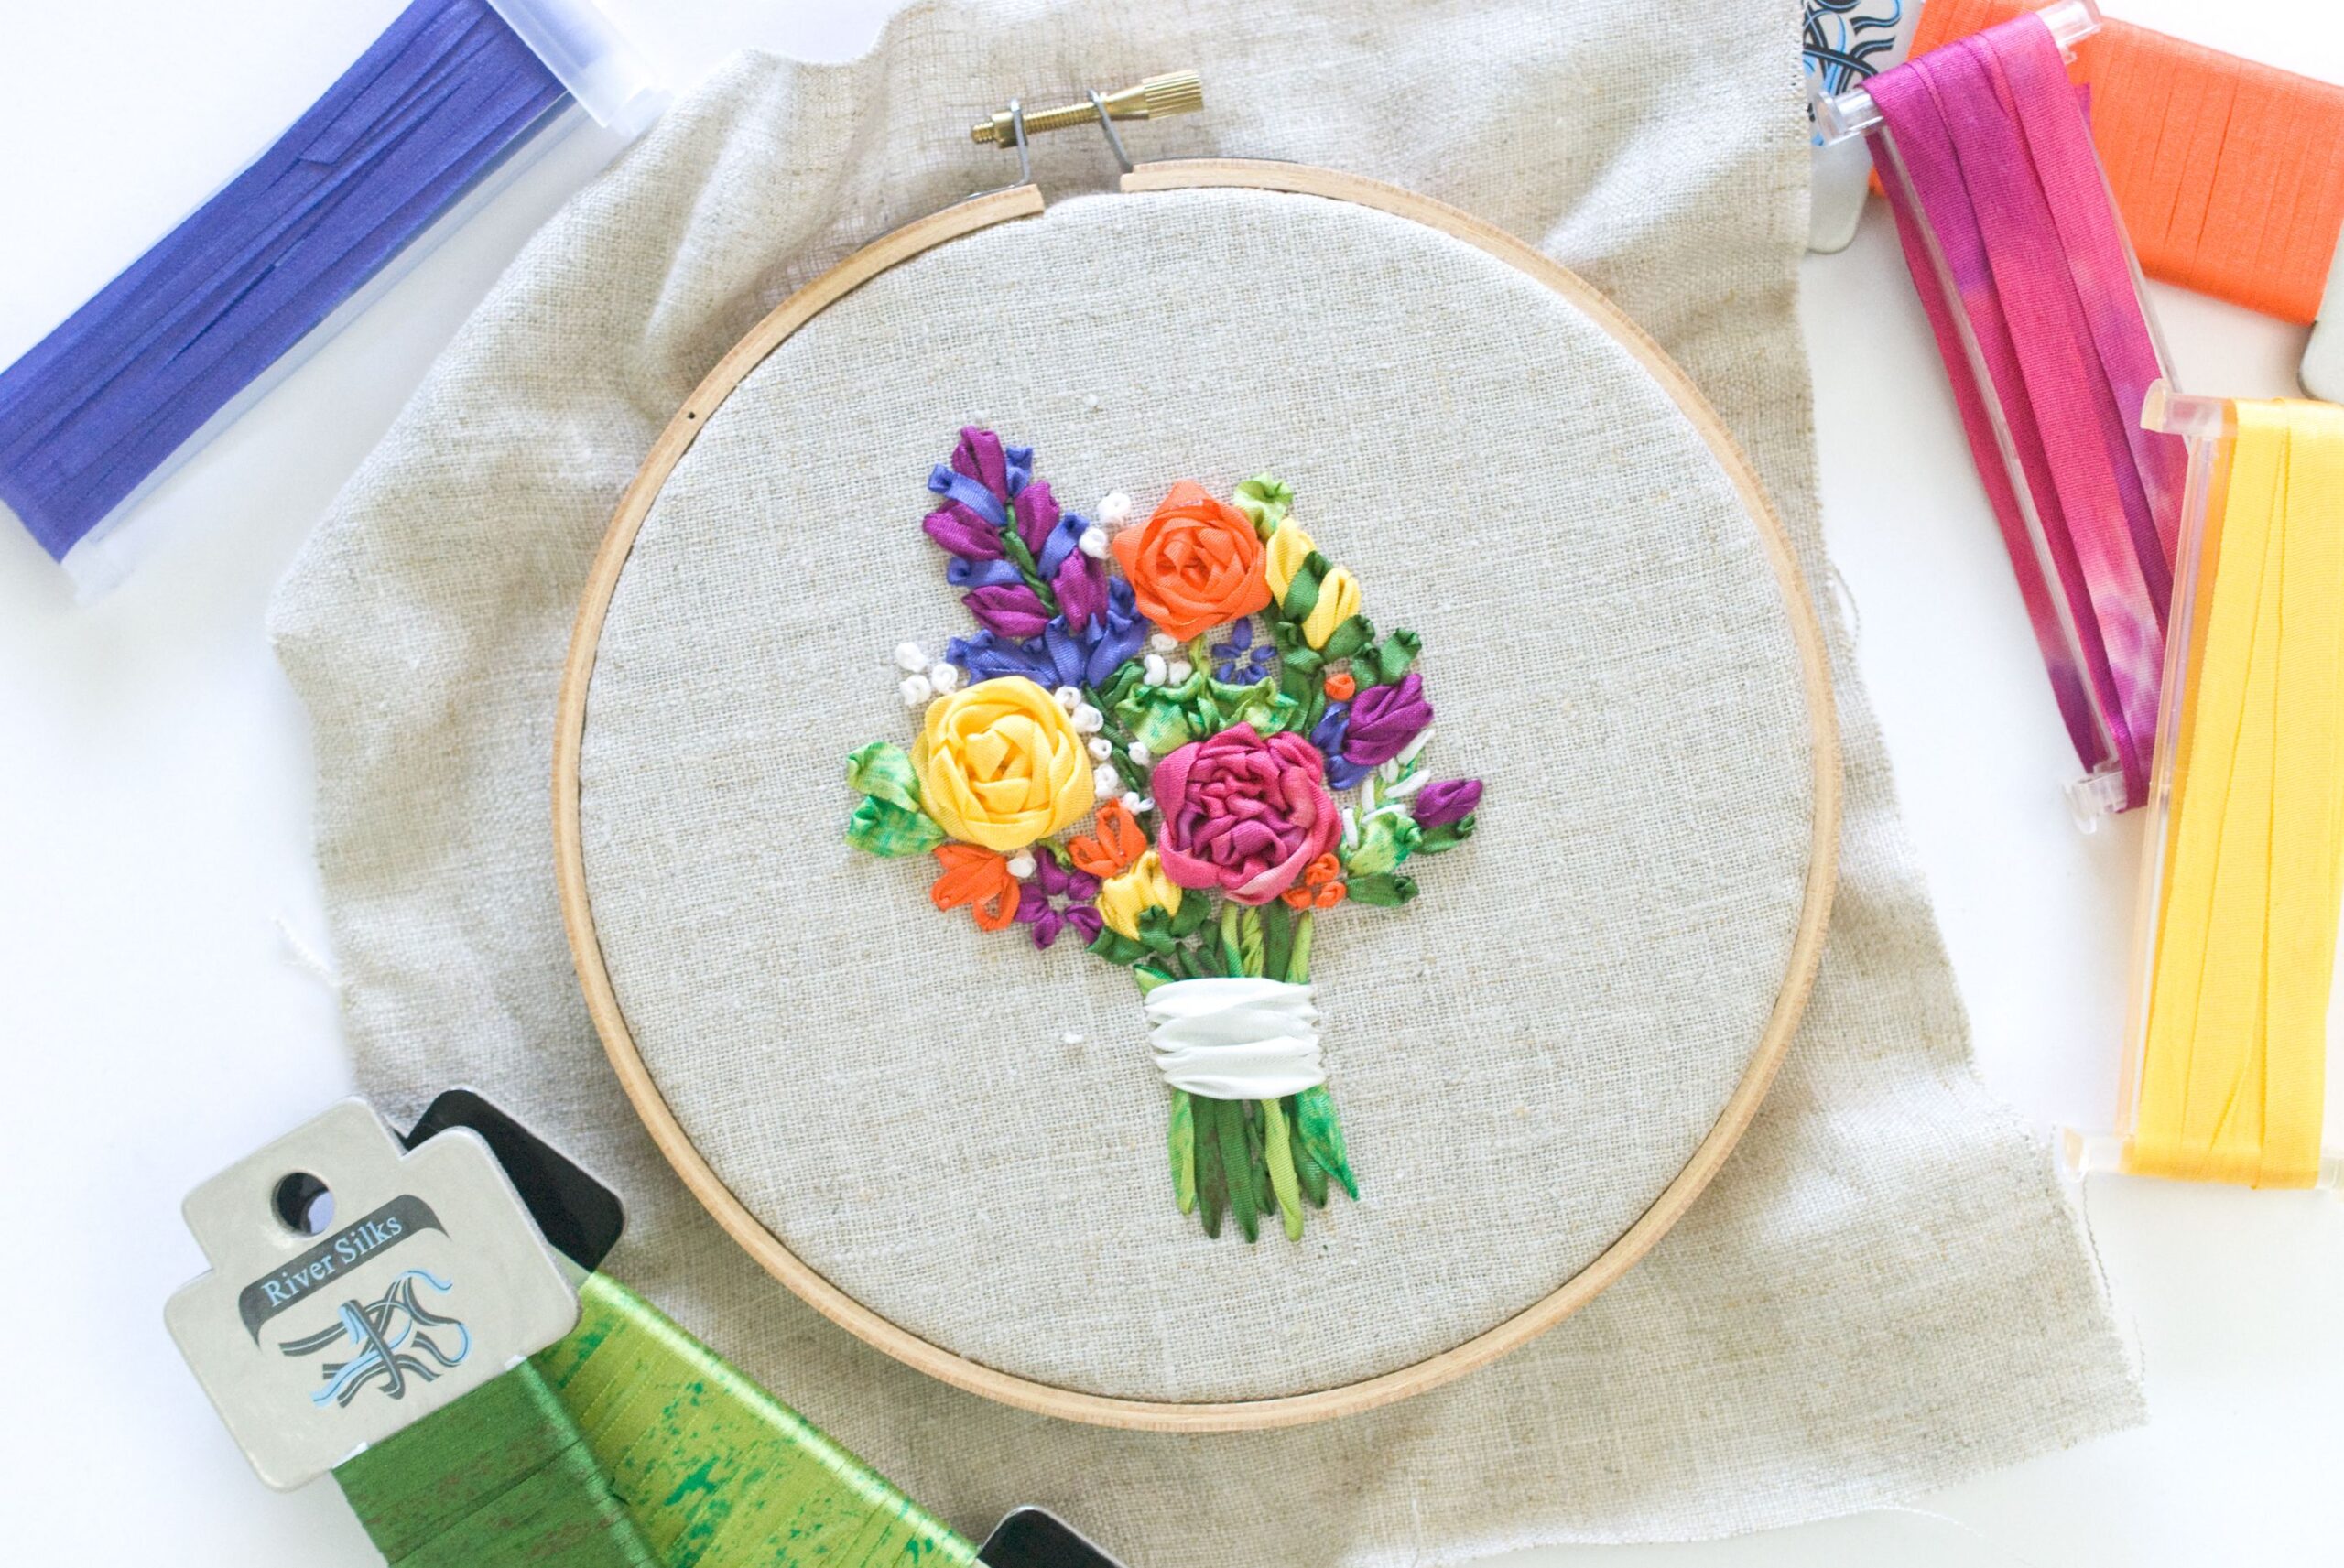
When you’re ready to create your first silk ribbon embroidery, try this pattern for making a beautiful bouquet of silk flowers.
IRAN ART EXHIBITION: There are many different embroidery stitches, but I’ve found that just five basic stitches, used alone or in various combinations, can create a large array of floral motifs and stitch patterns. The ribbon stitch is for ribbon only, but the lazy daisy, straight stitch, stem stitch, and French knots can be made with ribbon or thread. Try them, and you’ll see that the ribbon produces a different effect with each stitch. I’ve included some silk ribbon embroidery tips to help with locking and ending off stitches as well as ways to keep the ribbon flat while stitching. You’ll also want to remember not to pull your stitches too tightly, or your fabric will pucker and the ribbon will twist and end up looking like embroidery floss.
Five basic stitches
With just a handful of stitches, you can be on your way to beautiful silk ribbon embroidery. The illustrations show the stitches formed with ribbon, but many of them can also be worked with perle cotton and embroidery floss for various textured effects.
Straight stitch
The most basic of stitches can be used for numerous effects, some of which are shown below.
1. Bring up the needle and pull the ribbon through.
2. Insert down in a different location, pull through. This creates a line.
Step 1. Pull up in one area and insert back down in another.
Step 2: Start from the same location and stitching several stitches out in a circle or half circle creates a flower design.
Ribbon stitch
This stitch makes great leaves or petals, and works only with silk ribbon.
Come up through the fabric, lay the ribbon flat out and bring the needle back and down through to create a curling back effect.
1. Bring up ribbon through fabric, pull through.
2. Lay ribbon flat on fabric and insert needle back through and piercing ribbon and pull through slowly. Ribbon will curl into itself, so don’t pull tightly, or effect will be lost. To vary curl, pierce B to right or left of center of ribbon width.
Tip: If ribbon appears straight and narrow, make another stitch on top of first one.
Piercing the needle back through the ribbon creates a curling effect that gives dimension to the embroidery.
Piercing the ribbon closer to one edge or the other creates a larger curl on the opposing side.
Lazy daisy
Use for petals or leaves with ribbon, floss, or perle cotton.
1. Bring up the ribbon and pull through.
2. Make loop in direction of other end of stitch and insert, a thread or two to side of initial stitch. Pull out needle again, in opposite direction from the needle points until loose loop is formed, then stitch back down on the other side of the loop, so as to secure the loop in place. Note: To prevent ribbon from twisting when it’s drawn through fabric after pulling out the third stitch, arrange it around needle so it’s flat. Gently hold in place with thumb while sliding needle and ribbon through.
French knots
1. Bring up needle, pull through. Holding ribbon or thread, lay needle on top.
2. Wrap ribbon or thread around needle two to three times. Insert needle at back into fabric, a thread or two from initial point. Gently slide wrapped ribbon/thread down needle to rest against fabric, and pull through.
Stem stitch
Use this stitch for flower stems and outlining.
1. Bring up thread, pull through.
2. Insert needle again on stem line. Holding thread below line, pull out again directly in line with last stitch (not above or below) and 1⁄8 in. from where inserted, pull through. Continue to end of line, making sure thread is always held below line of stitching.
IRAN ART EXHIBITION: Ribbon Embroidery, also known as Silk Ribbon embroidery, is an Embellishment technique that employs silk ribbon and thin woven ribbons. Basic embroidery stitches are used to create flowers and decorative stitches for quilts, accessories and garments. The stitching is done directly on the foundation fabric of the quilt block or garments and accessories. The stitches are traditional embroidery stitches done by hand or with a sewing machine. Ribbon Embroidery is often used in Baltimore Album Quilts, Traditional applique quilts and Crazy Quilts.
Benefits of Ribbon Embroidery
Ribbon Embroidery can add details and elegance to any project.
Ribbon embroidery gives a 3-Dimensional look to the finished components and is much faster than applique.
Tools and Supplies for Ribbon Embroidery
You’ll need the following for Ribbon Embroidery:
• Silk ribbons for Embroidery – generally 4mm or 7mm wide
• Chenille or Tapestry Needles
• Perle Cotton or Embroidery Floss
• Thread
• embroidery hoop
• fabric