IRAN ART EXHIBITION: A COMPLETE TUTORIAL OF PUNCH NEEDLE FOR YOU
Learn how to do punch needle with this comprehensive beginner’s guide and step-by-step tutorial. This article has everything you need to know to start making beautiful punch needle art today!
Punch needle is a creative embroidery technique that both beginners and experienced crafters love to do. And it’s easy to get started! Once you learn the basic technique, you can make all sorts of projects, including wall hangings, pillows, and rugs.
What is a Punch Needle
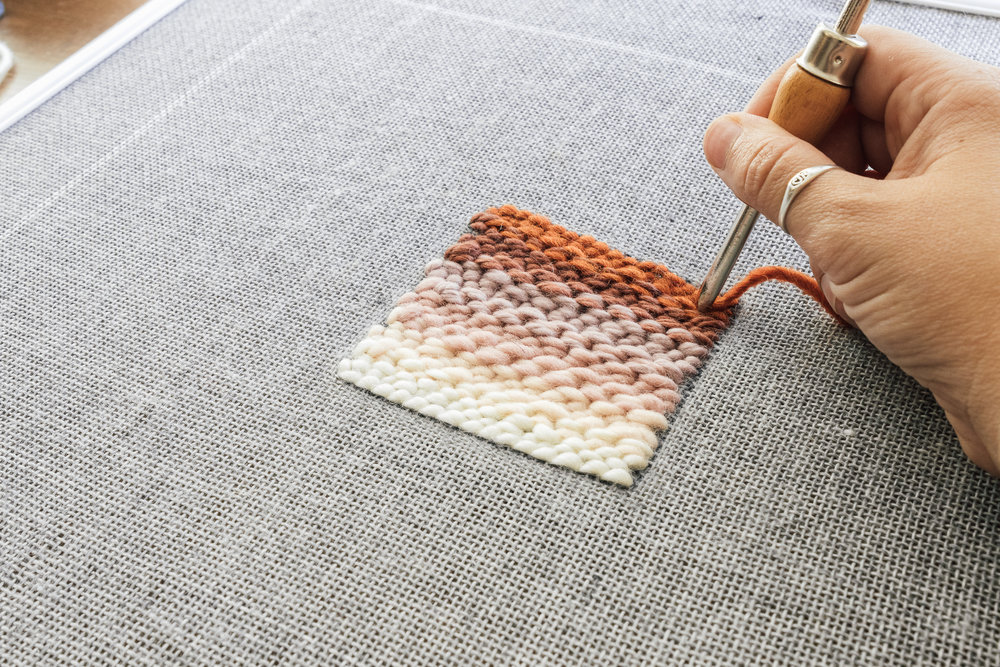
A punch needle tool is a long needle with a hollow stem, a beveled point, and a large eye. Yarn is threaded through the hollow stem of the needle and inserted through the eye. The point of the needle is punched through a woven foundation fabric, creating loops of yarn. The series of loops form a pile on the reverse side of the foundation fabric.
There are many types of punch needle tools. They come in different lengths and thicknesses. Some have an adjustable depth gauge to control the length of the yarn loops.
What is Punch Needle Embroidery
Punch needle is a form of needlework closely related to rug hooking. Punch needle goes by a few names, including needle punching, punch needle embroidery, and punch needle rug hooking.
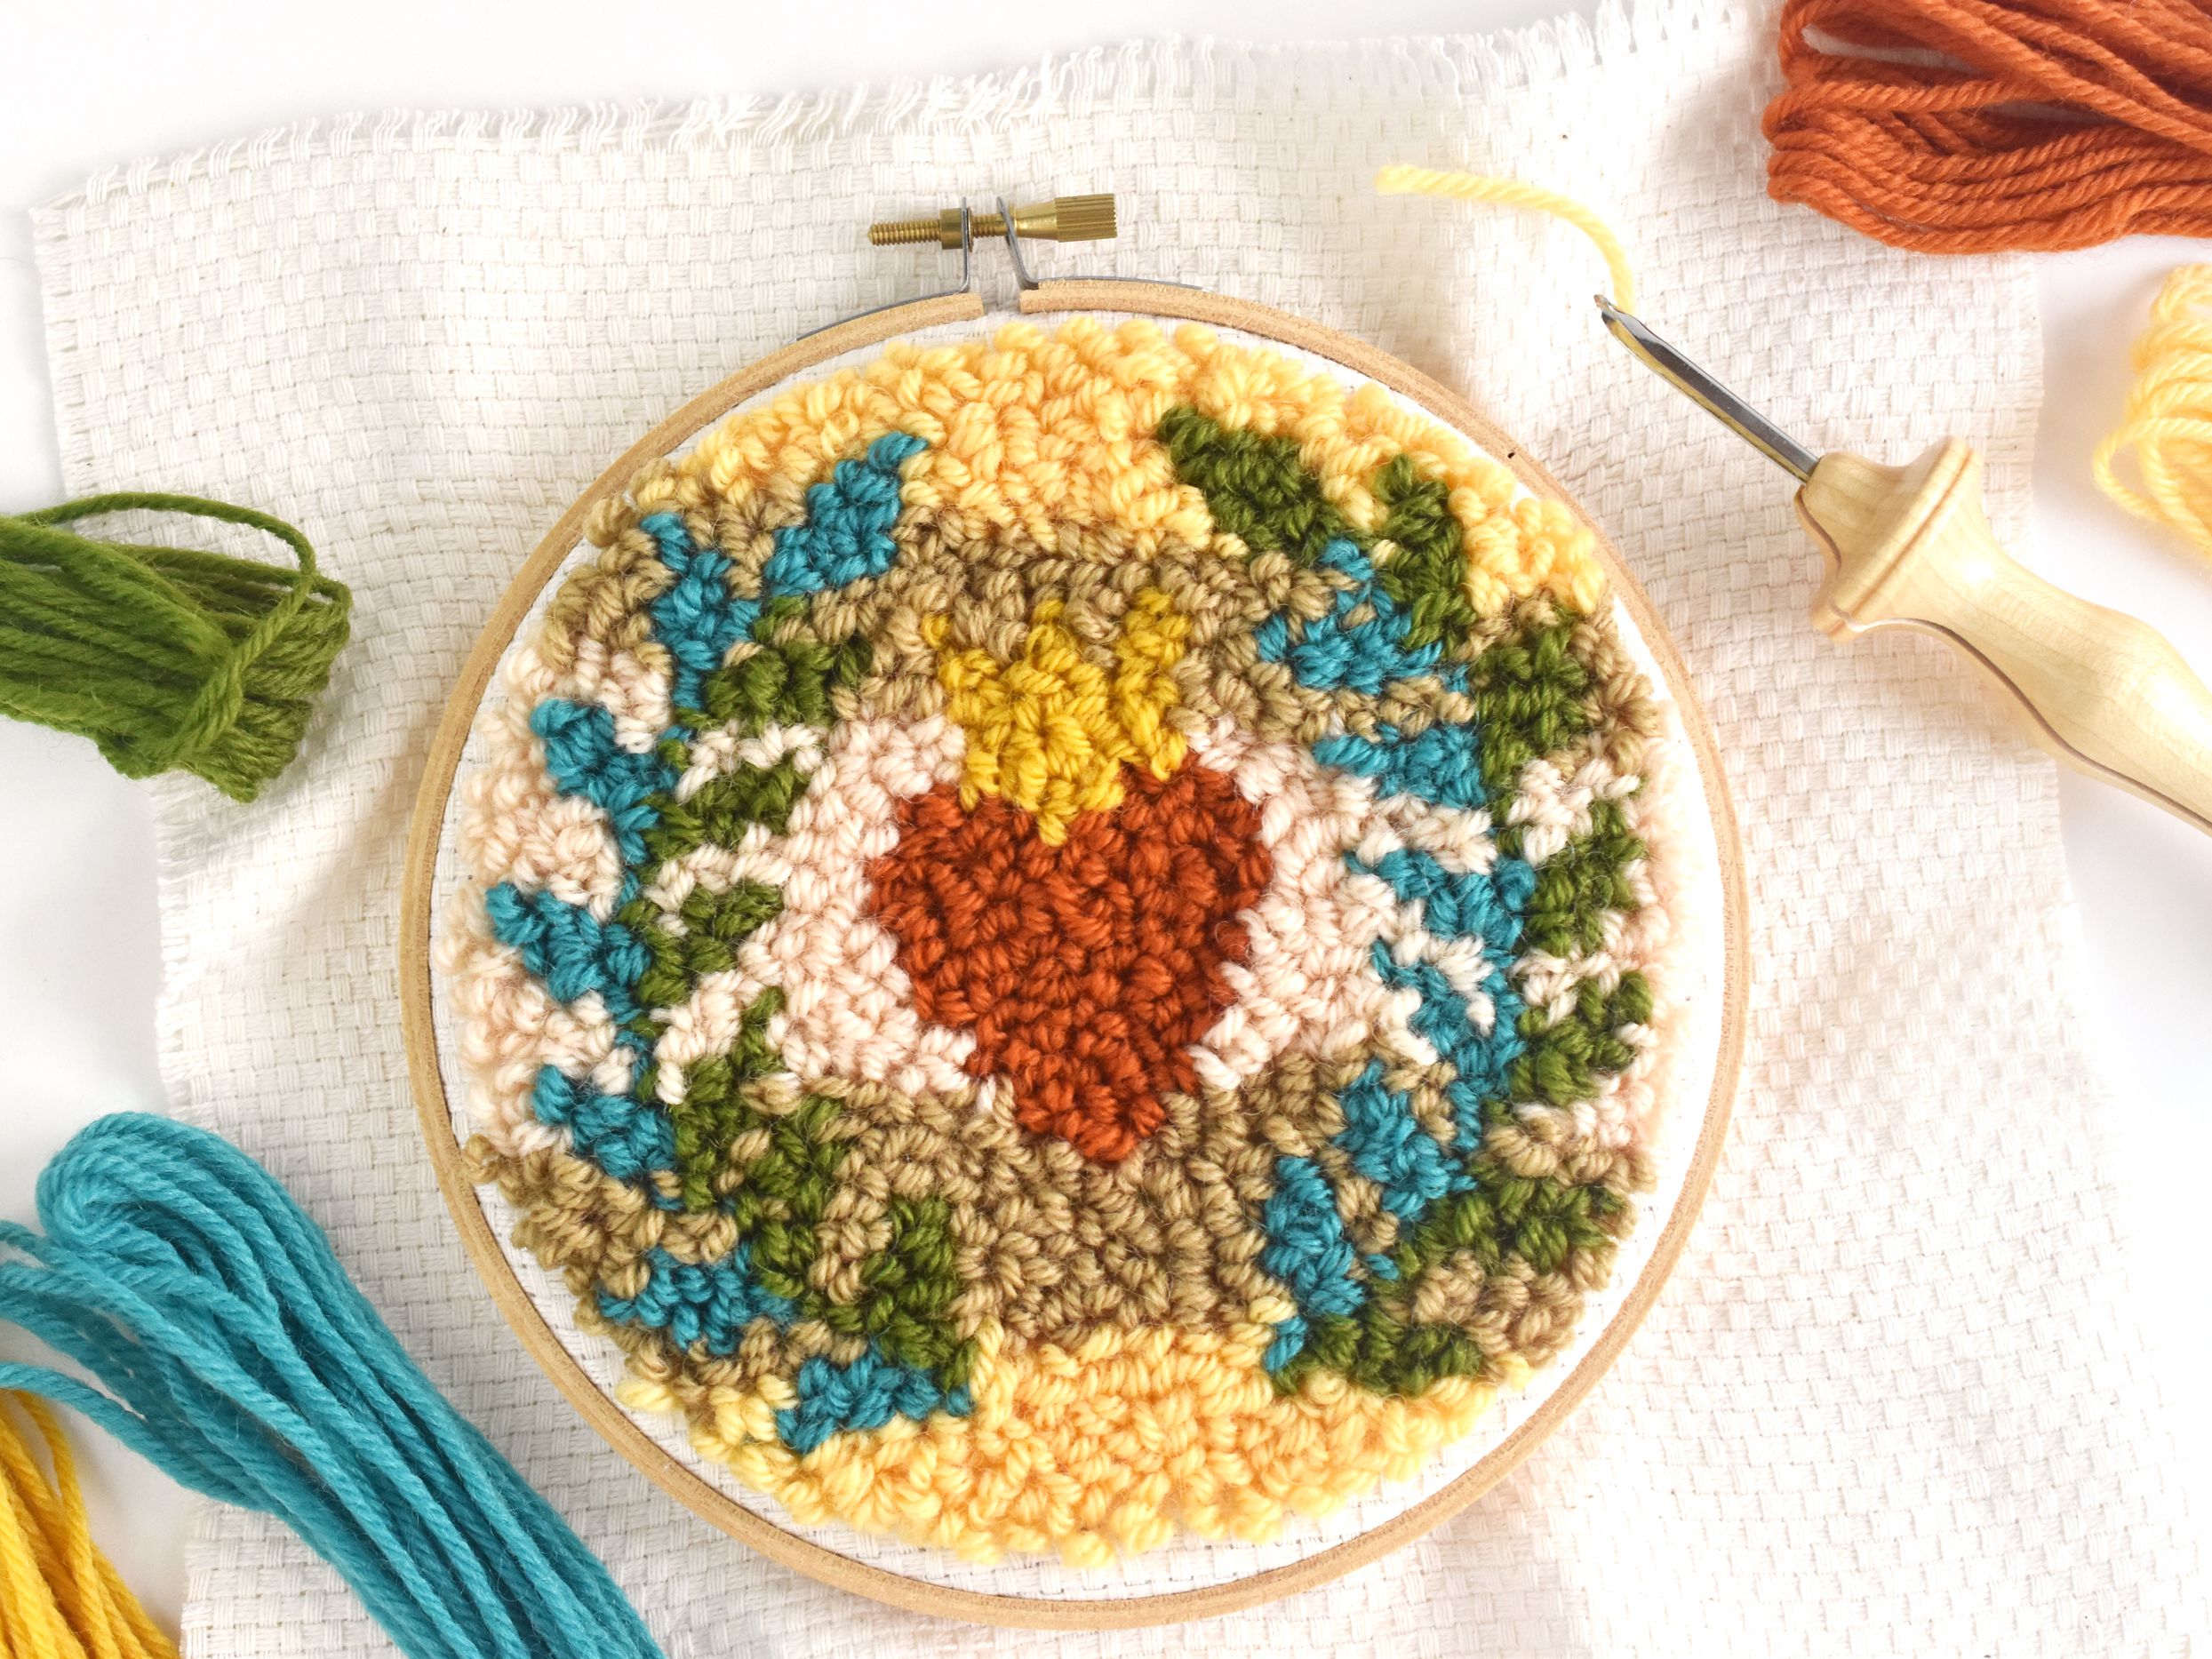
To do punch needle, the artist uses a hollow needle tool to “punch” loops of wool yarn through holes in a woven foundation cloth to create a design. The series of loops (aka the pile) gives the design a rug-like appearance.
Punch Needle History
Punch needle has a long history dating back hundreds, if not thousands of years. Fine punch needle embroidery was used to decorate medieval garments and religious panels. Later, the technique was used with thicker yarns to make rugs.
Our contemporary version of punch needle began in the late 1880s, evolving from more traditional rug hooking techniques, to become the art form we know today.
How to Use a Punch Needle
To begin a punch needle project, start by stretching a piece of woven foundation fabric on a gripper strip frame or no-slip embroidery hoop. Transfer your pattern to the foundation cloth.
Next, thread the punch needle tool with yarn. Working from the back or “wrong” side, use the punch needle tool to make a series of stitches in the fabric. Each stitch creates a loop of yarn that’s held in place by the tension in the foundation fabric.
When the design is complete, remove the cloth from the frame. Trim the remaining yarn ends and straighten any stray loops. Finish the back or the edges as desired.
How Does a Punch Needle Work
The punch needle tool forms a series of continuous yarn loops. Each time you insert the through the holes in the foundation fabric, it pushes down a length of yarn. When you bring the tool back up to the surface of the fabric, the length of yarn folds up to form a loop. The woven foundation fabric holds the loops in place while you make the next stitch. As you fill in the design, the tension of all the loops packed together keeps everything securely in place.
Traditionally, punch needle projects are worked from the back side, or “wrong”, side of the fabric. For this reason, punch needle patterns are printed in the reverse. The back side of a finished punch needle project looks more like embroidery, while the front side (or right side) has loops that look like a hooked rug.
Although the looped side is traditionally called the “right” side, some artists prefer to display the back side of their work as the “right” side — it’s a matter of preference!
Types of Punch Needle
There are several forms of needlework that all fit under the larger umbrella of “punch needle”. The main types include miniature punch needle embroidery (also called Russian punch needle), Japanese Bunka embroidery, and punch needle rug hooking.
These days, there are two main types of punch needle tools that you’ll see on the market:
• Punch Needle Embroidery. The first type uses a small gauge needle tool to punch fine threads and embroidery floss through a tightly woven fabric called weaver’s cloth. It is sometimes called “Russian miniature punch needle” or Igolochkoy.
• Punch Needle Rug Hooking. The second type uses a larger gauge needle tool to punch bulky wool yarns through a loosely woven fabric called monk’s cloth. This type is more similar to rug hooking.
Punch Needle vs Rug Hooking
Punch needle is very similar to the traditional craft of rug hooking, but the stitch action is a bit different. The punch needle tool pushes the loops down into the work, whereas the rug hooking tool pulls the loops up through the work.
Punch Needle Tools and Supplies
If you are looking to try punch needle for the first time, you’ll need a few special tools and materials.
Punch needle tool
Punch needle tools come in different sizes to accommodate different weights and types of fibers. When shopping, choose a punch needle tool that is comfortable to use and easy to control.
There are two main types of punch needle tools that you’ll find online: a small size to use with embroidery floss, and a larger size to use with rug yarn.
Rug Yarn
For most punch needle projects like pillows and rugs, I recommend using wool rug yarn. Rug wool is sturdier than other fibers, ensuring your project will last for years to come.
IRAN ART EXHIBITION: For wall hangings and other decorative projects, you can use bulky weight craft yarn (like the kind you’d use for knitting).
You can also experiment with thinner yarn by using multiple strands at once. For instance, I’ve used doubled worsted weight yarn and tripled sock yarn.
Foundation Fabric
Choose among a variety of woven fabrics for your foundation cloth: monk’s cloth, primitive linen, burlap, or rug warp.
For the majority of projects, I recommend monk’s cloth. Monk’s cloth smooth and pliable, yet sturdy enough to hold the yarn. It is a good choice of foundation fabric for pillows, bags, stuffed toys, and other items which need a bit of flex.
Important Note: Big craft stores carry a type of fabric that’s also called “monk’s cloth”, but which has too large of a weave to be used for punch needle. You can find the correct type of monk’s cloth from online retailers that specialize in punch needle and rug hooking.
Embroidery Hoop or Frame
A frame holds the foundation fabric tight while you punch the design. There are a few types of frames that work well for punch needle.
• Gripper Strip Frame
• No-slip Embroidery Hoop
• Q-Snap PVC frame
• DIY Carpet Tack Frame
The gripper strip frames are the nicest to work with, but are the most expensive option. (Isn’t that usually the case?)
You may be tempted to try a regular embroidery hoop, but they don’t hold a tight enough tension over time. Set yourself up for success with one of the no-slip options in the list above.
How to Thread a Punch Needle
Some punch needle tools, like the Oxford needle, are very easy to thread by hand because they have an open slot in the stem. To thread these types of open needles:
1. Insert the yarn through the eye of the needle, from back to front.
2. While holding on to the yarn end with one hand, place the yarn into the slot in the handle of the tool. (It might not go in all the way, that’s okay.)
3. While holding on to the handle of the needle tool with one hand, pull on the yarn end at the pointed end of the tool. As you pull, the yarn should pop into the slot in the stem.
Other types of needle tools require the use of a thin, wire threading tool to insert the yarn. To thread these types of closed needles:
1. Insert the wire thread up through the hollow stem of the tool, from the pointed tip to the end of the handle. Catch the end of the yarn, and pull it down through the stem.
2. Next, insert the wire threader through the eye of the needle, from front to back. Catch the end of the yarn, and pull it through the eye of the needle.
Transfer the Pattern
If you want to use a premade pattern, you’ll need to transfer the design to the monk’s cloth before you stretch it on the frame. There are a few ways to transfer the printed pattern onto your monk’s cloth.
Simple Tracing: You can transfer the designs directly onto the fabric using a light source such as a lightbox or window. Put the printed paper pattern behind the monk’s cloth and hold both up to a bright window or a lightbox. You should be able to see the printed pattern lines through the monk’s cloth. Then, trace the lines onto the monk’s cloth with a permanent marker.
Iron-On Transfer: You can also transfer the pattern with an iron-on transfer pen. Look for a pen that has “permanent” ink.
To do this, lay the pattern right side up, and cover it with a sheet of tracing paper. Use masking tape to secure the layers. Use the iron-on pen to copy the design onto the tracing paper.
Then, flip the tissue paper over, ink side down, onto the monk’s cloth. Use masking tape to secure it at the corners. (At this point, the pattern should be reversed.)
Following the package instructions, iron the design onto the monk’s cloth. Press with high heat on a firm, heat-proof surface. If there are missed spots, or the transfer is too faint, you can go over the design with a permanent marker.
The Basic Technique
To get started, stretch the monk’s cloth tightly in the hoop or the frame. It should feel as tight as a drum.
Hold the punch needle tool like a pencil, with the open slot pointing in the direction you are working. Push the sharp tip of the tool straight down through a hole in the monk’s cloth fabric. Pull the short yarn tail to the front side of the work. (You’ll trim this yarn tail later.)
Insert the tool all the way down, until the handle touches the monk’s cloth. Then, bring the tool back up until the tip of the tool is even with the top surface of the fabric.
Congratulations, you’ve made the first stitch!
IRAN ART EXHIBITION: To make the next stitch, move the tip of the tool a short distance along the surface of the fabric (skip 2-3 holes). Don’t pick up the tool too high off of the monk’s cloth. Instead, try to graze the surface of the fabric with the needle tip.
Start your project by working the outlines in a shorter stitch (6 stitches per inch). And then, fill in the shapes with a slightly longer stitch (4 stitches per inch)
If you change your mind, you can punch outside the pattern. The pattern tracing will be hidden by the yarn loops.
To change directions or turn a corner, rotate your needle in the down position. You can also try rotating the embroidery hoop instead if that feels more comfortable to you.
As you go, you’ll see a line of flat stitches on the back side of the work and a row of yarn loops on the front. Continue filling in your design, following your pattern.
To change yarn colors, rethread your needle with a different color of yarn. Insert the tool as before, pulling the yarn tail to the loop side of the work. Remember, you don’t need to tie any knots. The tension of the fabric will keep your stitches in place.
If you make a mistake, gently pull on the yarn to undo the work. Use your nail or another blunt edge to scratch the fabric and “erase” the holes. Then, rethread the needle tool and punch the section again.
I removed the dark green yarn and will replace it with a light blue yarn. Finishing your work. When you’re done punching in the design, cut the yarn and pull the tail to the front side of the work. Remember, no knots are needed. Turn the frame over so that the looped side is facing you. Trim any remaining yarn tails even with the height of the loops. At this point, you might notice that the outlines of your design aren’t as defined as you’d like. Sometimes, when you’re punching, the yarn loops can move beyond the outline of the design. This is very common and easy to fix.
Clean up the lines of your design by “poking” or pushing the yarn loops back into the right spot. Use a chopstick or even the empty needle tool itself to push yarn loops that have moved out of place.
How to Make a Punch Needle Frame
You can make your own DIY punch needle frame from wooden canvas stretcher bars and carpet tack strips or gripper strips. To make the frame, attach the carpet tack strips to the assembled wooden frame with nails.
Wooden canvas stretcher bars are available from most craft and artist supply stores. And, you can find carpet tack strip from home improvement stores.
To use the frame, stretch the monk’s cloth over the tacks. The tacks will hold the fabric tight while you work. You may want to cover the tacks with a thick folded towel to protect yourself while you work.
Punch Needle Project Ideas
While punch needle may have evolved as a way to make wool rugs, modern punch needle artists are using this craft technique to make a wide variety of projects.
• Wall art
• Pillow covers
• Bags and purses
• Stuffed Animals
• Clothing and patches
• Christmas ornaments
IRAN ART EXHIBITION: If you are interested in making wall art, you may like this free pattern for a rainbow punch needle wall hanging.
And, if you want to sew your punch needle design into a pillow, don’t miss this tutorial for an easy punch needle pillow with a whip stitch edge.
How to Finish Punch Needle Projects
There are several ways to finish the back of punch needle embroidery, depending on the type of project.
• Wall hanging: Maybe people like to frame their finished punch needle projects in a wooden embroidery hook. Or, you can hem a finished project and hang it like a tapestry.
• Pillow: You can also sew a finished punch needle project into a beautiful – and functional – throw pillow.
• Rug: And of course, you can turn a punch needle project into a finished rug. Fold the monk’s cloth toward the back, twice, so that the raw edges are enclosed. Whipstitch the monk’s cloth to the back of the rug to secure.
How to Fix Punch Needle Problems
As you practice punch needle, you may run across a few issues. Here are a few frequently asked questions.
How to keep punch needle from unraveling? If the loops are coming out, you may be pulling your needle tip too far away from the surface of your fabric in between stitches.
IRAN ART EXHIBITION: Secondly, you may have too much tension on the yarn itself. Make sure there is plenty of slack.
Third, make sure you are holding the punch needle tool with the slot opening facing the direction that you’re making your stitches.
How to fix uneven loops? If the stitches look uneven on the front side of your fabric, make sure to punch the needle down all the way down to the handle on every stitch.
