IRAN ART EXHIBITION: SEE HOW DIFFERENT MOTIFS WORK IN YOUR OBJECT PHOTOGRAPHY
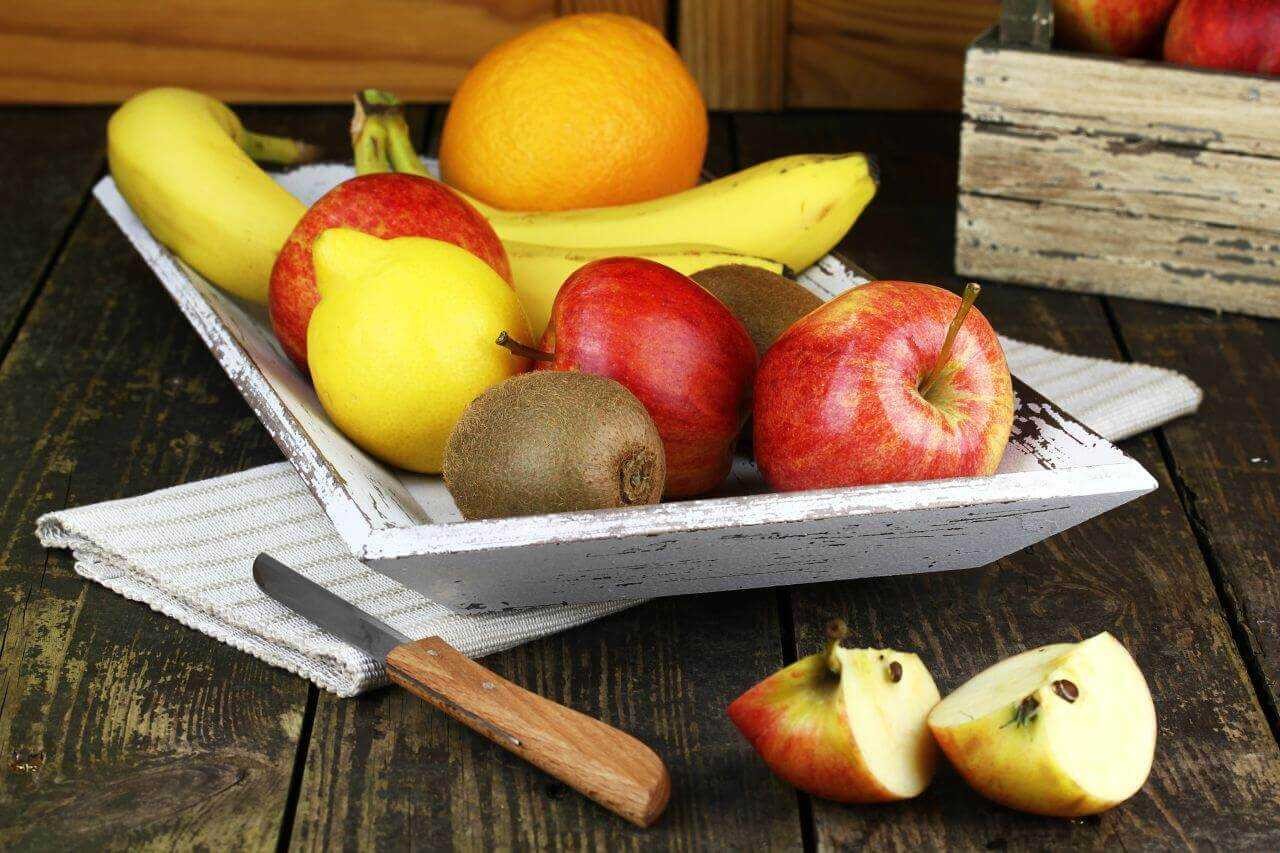
In object photography, everything revolves around photographing three-dimensional objects and arrangements. The most common type of object photography is the so-called table top photography, in which smaller objects are draped on a table or shelf. Since taking pictures of objects often takes place in a studio or in a similarly neutral environment, the quality of the photos depends above all on the lighting, exposure and focus. Be it still lifes, product photos or food photography – here you will find inspiration and tips for your perfect object photo.
Equipment and prerequisites
Basically, you can take good object photos with every camera and the right know-how. A digital camera, which preferably has a macro function, is of course recommended for object photography in order to be able to capture close-ups and very small objects with sufficient sharpness. Depending on the photo motif, a suitable background is also needed. A white or at least neutral background is popular for product photography. A larger sheet of white paper is sufficient to form a slightly curved background for the product. Alternatively, a neutral wall behind a monochrome tabletop are of course always suitable. For still life and food photography, however, picturesque arrangements are also popular.
IRAN ART EXHIBITION: In addition, a sufficient number of light sources without hard or yellowish light are recommended. So-called softboxes, which produce diffuse light and come very close to daylight, are already available at low prices. Since higher exposure times are often necessary for the photos, a tripod for the camera should also be considered. An image processing program is also helpful for the further editing of the photos.
Daylight or external light source – the choice of the right lighting
Photos taken exclusively with daylight require a longer exposure time, as the natural light is usually not sufficient for adequate illumination. When photographing with white backgrounds, it is also aggravating that the background will almost never appear white and may need to be brightened with an image processing program. However, if no other light sources are available, you should preferably take the photos under a lightly overcast sky or with indirect sunlight. Direct sunlight is less recommended for object photography as it can lead to strong hard shadows.
If there is not enough light in the room, so-called softboxes are the right choice. Daylight lamps produce cool, diffuse and natural light. Such a lamp is recommended for optimum illumination on each side of the object to be photographed. A softbox is also sufficient if it is directed towards the ceiling, reflecting soft light over the entire room.
Professionals like to use studio flashes for the right illumination. For hobby use, however, we recommend that you first work without a flash and only with daylight or daylight lamps.
Reflection, mirroring and shadows – each material is different
Glass, fabric or other materials – they all have different surfaces and therefore react differently to light sources. The right illumination therefore requires a certain feeling for the interplay of light and shadow. Glass and metal are particularly challenging because the materials reflect and mirror strongly. Diffuse light sources are also suitable here to avoid strong light reflection on the shiny surface. Unfortunately, due to the many different materials, shapes, colours and lighting conditions, there is no patent recipe for the perfectly illuminated, non-reflecting object. Experiment with various light sources and their orientation. You can also work with reflectors or light-absorbing surfaces. These are often simple cardboards with a reflective foil or matt surface, which are placed on the side of the object to create the optimum light effect.
IRAN ART EXHIBITION: The same applies to the shadow of the object to be photographed. In general, the smaller the distance between the subject and the light source, the brighter the subject and the harder the shadow. For softer shadows, the light source should be moved closer to the object, as very few shadows are produced by lamps directed directly at the object from above. If you want to avoid a shadow completely, it is advisable to aim two identical light sources at the left and right of the subject.
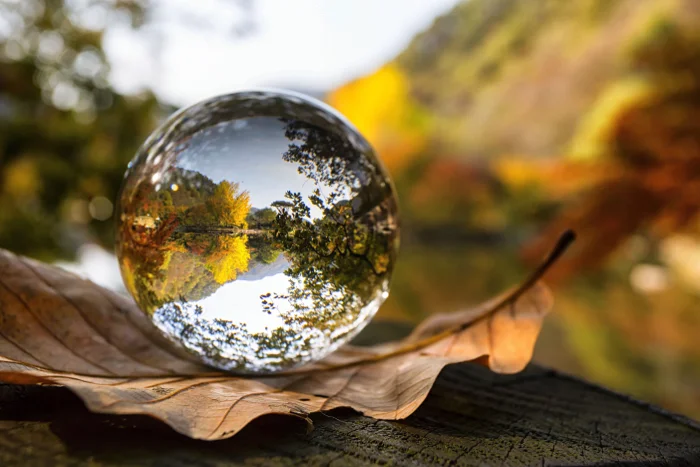
Photo technology – The right settings
Once the object has been positioned and optimally illuminated, it is time to take the actual photograph. A DSRL offers enough creative scope to find the right setting for each motif. However, before you start taking pictures, it is advisable to make a white balance. This can be done automatically or manually. It tells the camera the colour temperature and thus prevents colour casts.
When it comes to the exposure time, you have to experiment again, as this depends strongly on the individual lighting conditions. If the exposure time is too short, the image is underexposed. If the value is too high, the image becomes too bright.
The choice of the optimal aperture also depends on individual requirements. A small aperture value is recommended for a blurred background and therefore a shallow depth of field. For a sharp background, a higher value applies accordingly.
IRAN ART EXHIBITION: Especially for product photos, it is crucial that as many sides of the object as possible are shown. It is best to photograph from different sides and from different angles. Classic and simple from the front or diagonally above – there are many possibilities with regard to perspective.
Another aspect is the viewing direction and the motif view. We are used to reading from left to right. As a rule, we also adopt this habit when viewing pictures. Photos on which objects are arranged accordingly can therefore be viewed more comfortably.
The arrangement of the object within the photo is also important. This is especially interesting if not only one object is to be photographed, but several. In the case of food photography, food and accessories are often arranged in such a way that they become a small work of art. But even in product photography, it doesn’t have to be boring in front of the camera lens. Also here different objects, colours and objects can be put together. Especially smaller objects often look lost if they stand alone in the picture and can be combined well with similar and related products. The photographer usually knows best which objects work well together and what the photo should look like in the end.
This article should give you inspiration and help, but also when photographing objects, as in many areas of photography: Try it out. Test how different motifs and different settings work and get to your optimal photo step by step.
