IRAN ART EXHIBITION: FREE TUTORIAL OF DESINGING MOCKUP PRODUCTS
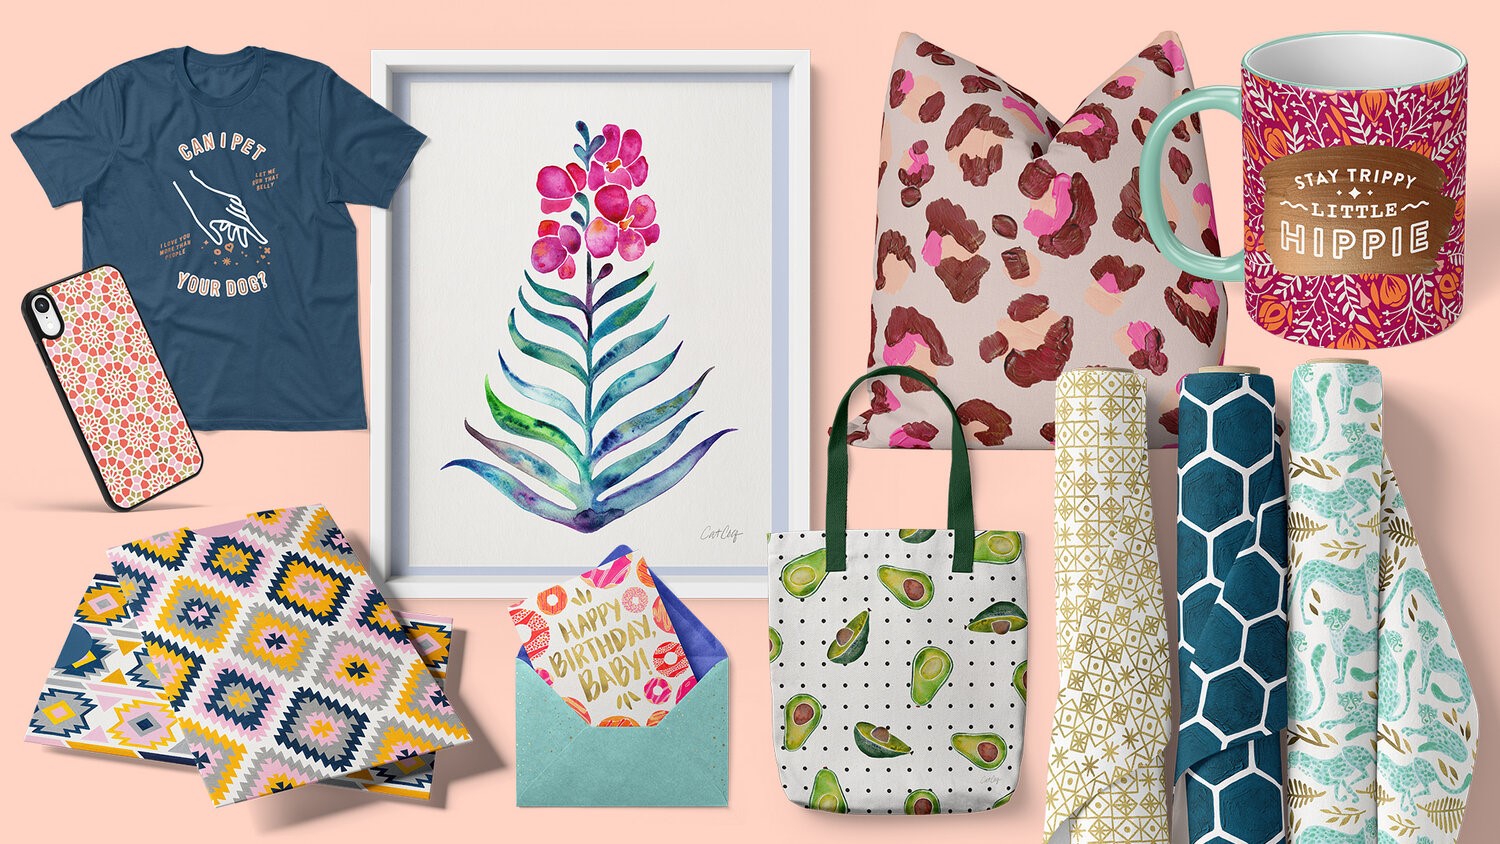
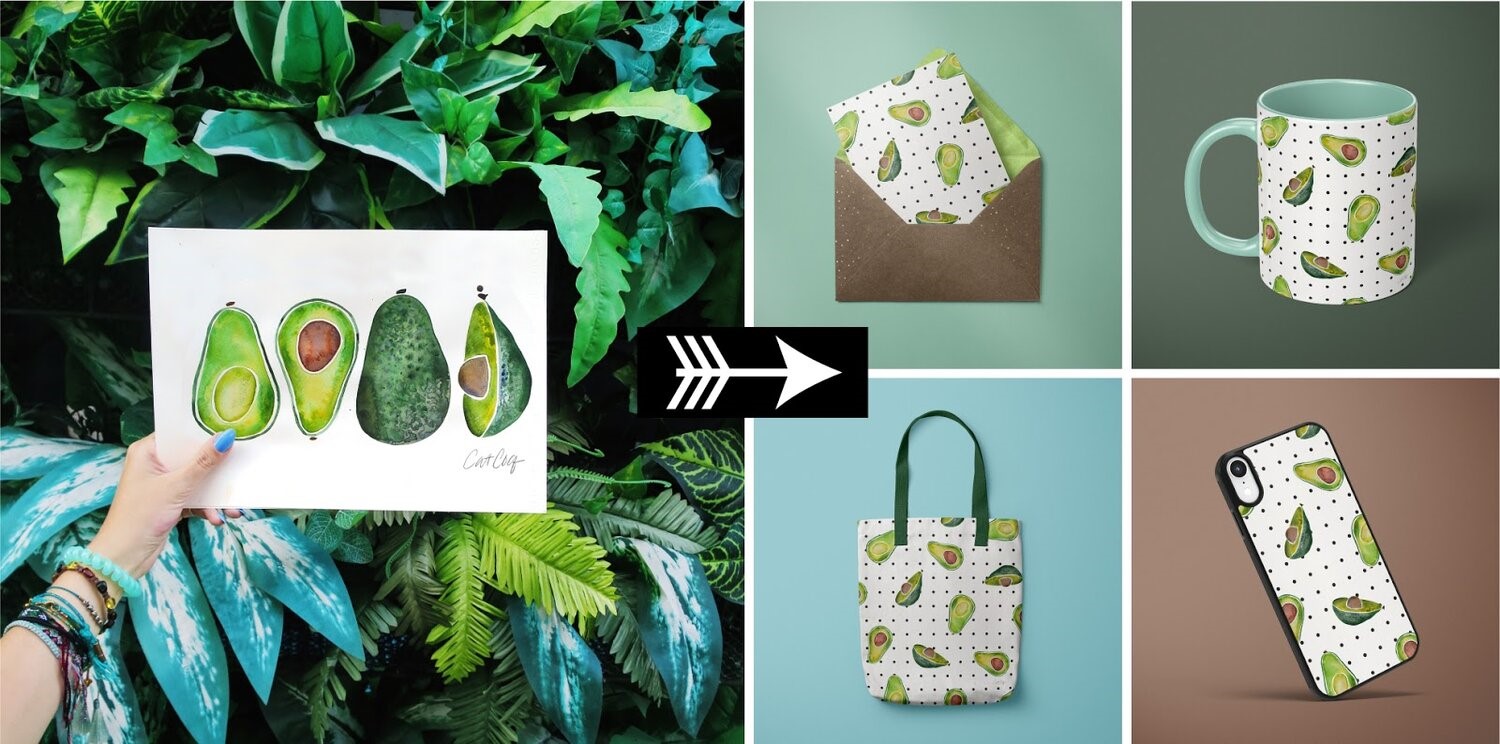
There is nothing like seeing your artwork hanging in a frame or printed on a product for the first time. Seeing my artwork displayed like this was such a pivotal part of feeling like I’d “made it” as a fine artist. But what if I told you that you could feel that feeling today without ordering any special products, frames, or prints of your artwork? Enter, product mockups.
What is a mockup?
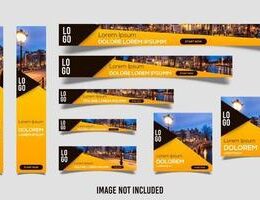
If this is your first time hearing the term mockup, no worries! Let me break it down for you. Mockups are digital representations of what your design will look like on a physical product. This makes it look like that product already exists even though it’s completely digital. The higher quality the mockup file, the more convincing this will be. And I’m going to show you how to use some of the best mockups available in the market today.
In this tutorial I’ll walk you through how you can turn your existing artwork, patterns, or photographs into professional product mockups to showcase your work.
Why are mockups important?
Product mockups are also great for sharing your artwork with your audience. I share mockups on Instagram, my website, my portfolio, and my store. This helps me showcase my artwork in a very professional light. It also paints a picture for potential customers about what the physical product they’re purchasing is going to look like.
IRAN ART EXHIBITION: Now that you have an idea of what product mockups are and why they’re important, let’s dive into the details of how to create mockups using your own artwork, designs, or photos.
What you’ll need:
• Photoshop.
• A digital file of your artwork, design, or photography. You can put anything on a mockup as long as it’s a digital file. If you don’t have any artwork digitized, you can snap a quick picture of your artwork with your phone to follow along with this tutorial. If you’re going to use these mockups for more than just personal use, I’d recommend digitizing your artwork with Photoshop.
• Mockup Files. I’ve teamed up with Creatsy to provide you with free mockup files for this tutorial. Creatsy is my absolute go-to for professional mockup files. They put together the highest quality mockups in the marketplace today. And they have thousands of options in every category you can think of. No matter what kind of mockup you’re looking for – Creatsy has it!
A quick note on license types: The license type of a mockup gives you information about how you can use the mockup online.
Now let’s dive into the mockups! In this tutorial, I’ll walk you through two of the most popular mockup types – T-shirt mockups and wall art mockups.
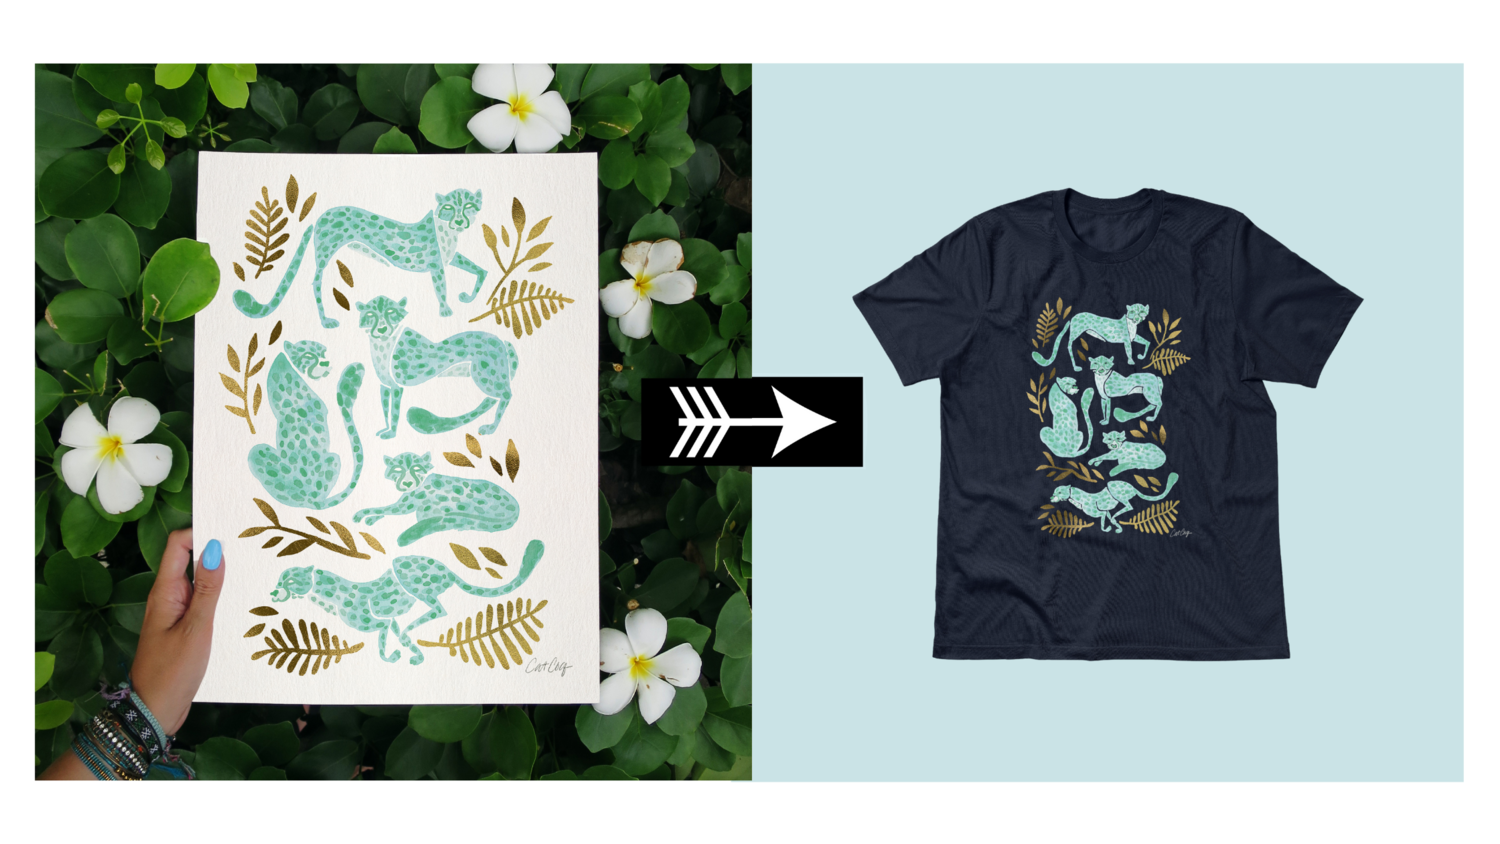
T-Shirt Mockup
Apparel is one of the most popular categories when it comes to selling your art with print on demand. And of all of the different styles of apparel, the most lucrative sellers are T-shirts.
To get started with your T-shirt mockup, simply download the free T-shirt mockup file, and open it in Photoshop.
The gridded grey area on the T-shirt represents the area that will be replaced with your own design.
The gridded lines morph with the fabric, meaning your design will look as if it’s actually printed on this T-shirt. It will look really integrated into the fabric instead of looking like it was just copied and pasted on top. There are even highlights and shadows included in this mockup file. These details are what give the mockup such a realistic look.
IRAN ART EXHIBITION: In this mockup we have two primary folders – Background and Object.
To pop your artwork in, toggle down on the carrot on the Object folder. There will be a lot of layers that pop up, but you don’t need to worry about most of them. When in doubt I always look for the layer named “Design.” In this case there are actually four design layers which each indicate different parts of the shirt you can design – the sleeves, the inside of the T-shirt, and the front.
In this example, I’ll show you how to edit the front of the T-shirt. To add your design, double click on the Smart Object on the left side of the “Design front” Layer. This will open up the exact part of the file where you can add your artwork.
IRAN ART EXHIBITION: Now, simply drag and drop your artwork into the Photoshop file. Remember that this is going to fill up the entire front of the shirt, so be sure to resize your artwork with that in mind. When you’ve resized your artwork, just press enter to set the transformation!
You’ll notice that my design for this mockup has a transparent background. Transparent files are pretty standard for apparel because they allow a good opportunity for the fabric to show through in the back.
We want to keep that transparent background, so you can delete the “sample design” Layer by simply clicking the layer and pressing delete on your keyboard.
Close out of the file by using the keyboard shortcut cmd + W and then click “Save”. This takes us back to the original mockup file, but now the design is fully integrated on the front of the shirt. You’ll notice how the white parts of my design have disappeared because the fabric of the shirt is set to white. But another magical thing about mockups is that they’re super customizable. You can easily change the shirt color with a few clicks.
To change the shirt color, toggle down the arrow on the layer called “Swatch Colors.” You’ll see that there are a lot of different color options already populated in this mockup. To choose the one you want, click the eyeball to turn the visibility on for that layer. You can also turn on the “Custom Color” Layer at the top to choose a color yourself by clicking the color thumbnail and choosing your custom color.
In this example I’m not adding any custom designs to the inside of the shirt or the sleeves, so all you need to do to turn those the same color as the rest of the shirt is click the eyeball next to each of those layers to hide them.
When you Zoom into the mockup you can tell just how detailed it is. The design morphs with the folds of the fabric, and you can see the fabric texture coming through as well.
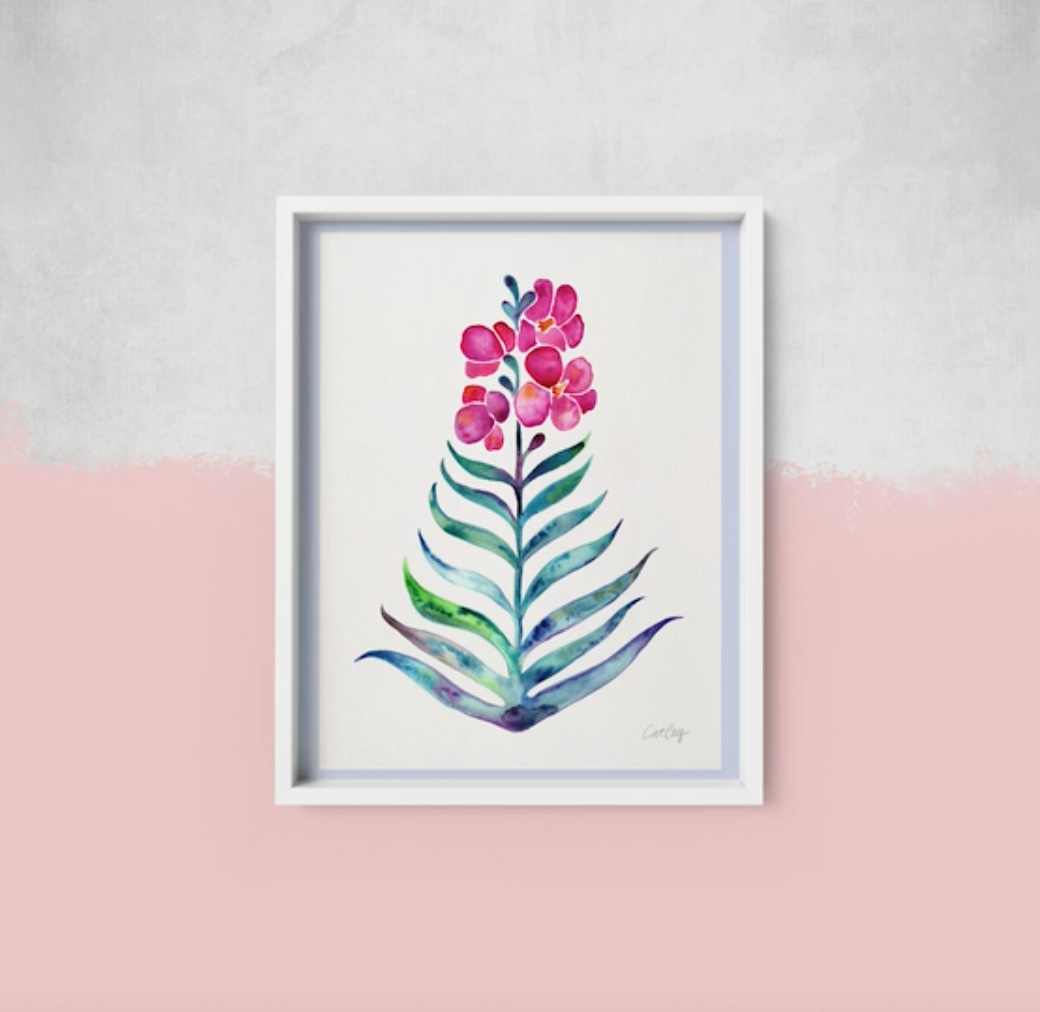
Framed Art Mockup
Wall art typically has the largest royalty margin of all print-on-demand products which makes it one of the most profitable products when it comes to selling your art online.
Frames are one of my favorite ways to showcase my artwork to my audience on social media, potential art licensing partners, and in my online store.
There are so many different frame mockups available, so you can easily find the ones that fit the best with your style! In this tutorial, I’ll show you how to add your artwork to this free frame mockup and how you can make a few customizations to really make it your own.
To start, open up the mockup file in Photoshop. Just like the T-Shirt, the first step is to find the smart object where you will add in your artwork. In this example, toggle down on the “Frame” layer group, and double click on the smart object labeled “Design.”
In this example, you’ll see a checkered border around the artwork area. This represents the part of the mockup that is covered by the matte and the frame, so you’ll want to make sure that your artwork fits within the dark grey area. Any parts of your artwork that bleed out into the checkered border will be covered in the actual mockup file.
IRAN ART EXHIBITION: Now drag and drop your artwork file into Photoshop and resize it to fit the proportions of the mockup.
Let’s see what it looks like on the frame! All we need to do to get back to the mockup file is to close this out by using the keyboard shortcut cmd + W and clicking save! Your mockup should look something like this:
If you like the look of the white matte and white wall, you can leave the mockup as is. But if you want this to look a bit more custom, there are a few tweaks you can make.
The first change you can make is to change the color of the matte itself. All you have to do here is click on the color thumbnail of the “Color: Matte” layer. This will pull up the color swatch tool where you can select any color you’d like. You can also use the Eyedropper tool to select a color straight from your artwork.
In this mockup file, you also have the ability to change the background. To see the different background options, toggle down on the “Backgrounds” layer group. You’ll see that there are a lot of different background options to choose from. You can play around with these by clicking the eyeball on each layer and seeing which one you like best.
IRAN ART EXHIBITION: To add a colored background, it’s the same technique as changing the color of the matte – double click on the “Color” layer and pick whatever color you like!
In my example, I chose to use the “partial paint” Layer along with one of the textured background layers, and this was the final result!
As you can see, high-quality mockups like these ones from Creatsy are incredibly customizable. I hope you have fun playing around with these and making them your own.
IRAN ART EXHIBITION: Here’s a little inside scoop when it comes to mockup files: When you’re placing your artwork into a mockup file, you’ll typically see two different types of layers that you edit with your own designs:
1. 3D layers
2. Smart objects
Both of these layer types accomplish the same final result: your design replaces the default design.
So what’s the difference between the two?
3D layers are going to give you more realistic and accurate results. This is especially important when it comes to products that are more dimensional, like t-shirts with creases, fluffy throw pillows, and folded fabrics.
Smart objects aren’t quite as fine-tuned and are less flexible: they only have a handful of points to warp, whereas 3D layers literally have millions.
So what does that mean for you?
IRAN ART EXHIBITION: Remember, 3D Layers and Smart Objects both accomplish the same thing: they allow you to swap out the template design with your own artwork. It’s common to come across both types when you’re using mockup files.
You’ll usually see 3D layers in complex mockups like fabrics. Smart objects are more common in simple, flat mockups like framed artwork or business cards.
How to edit 3D Layers vs. Smart Objects:
Smart Objects are the easiest to edit: All you need to do is double click the Smart Object Layer and Photoshop will automatically open a new artboard where you can drag & drop your artwork into. Easy peasy!
3D Layers are slightly different: Instead of double-clicking the layer itself, double-click the text under the 3D icon. This will automatically open up a new artboard where you can drag & drop your artwork.
Running into issues with your 3D layers?
IRAN ART EXHIBITION: In the newest Photoshop update, there are some glitches with 3D layers, but Adobe is aware of the issue and is working to fix it. In the meantime, if you’re running into difficulties, here’s a pro tip fix:
1. Go to Photoshop > Preferences > Technology Previews
2. Check the item “Deactivate Native Canvas”
3. Restart Photoshop